Build Your Own Bitcoin Node
The Bitcoin blockchain is an open source ledger that anyone can access. It is the job of Bitcoin nodes (aka Bitcoin blockchain validators) to validate that the blockchain is in sync and hasn't been compromised. The more validators there are, the safer the network becomes. Also, by having your own node, you will no longer need to depend on public nodes when making and validating Bitcoin transactions.
The above flow chart shows the chain of events for each Bitcoin transaction, and the role that nodes/validators play in the process. By building your own node, you help to stengthen the overall Bitcoin network. It also allows you to complete transactions via your own node instead of trusting public nodes.
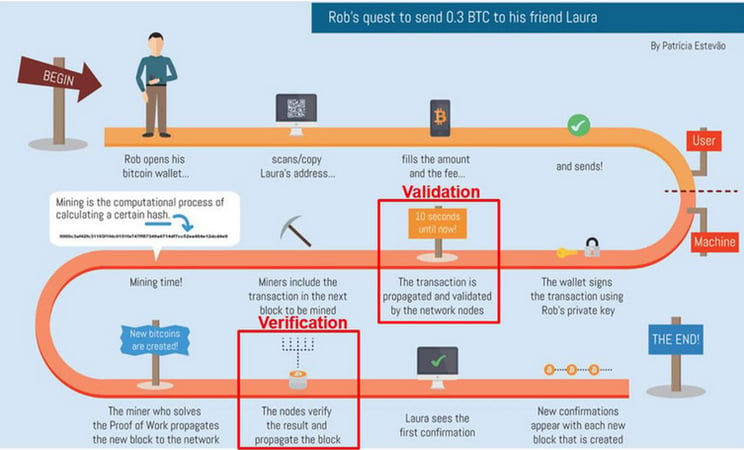

This image was created by Patricia Estevillo: https://patestevao.com/
Required equipment
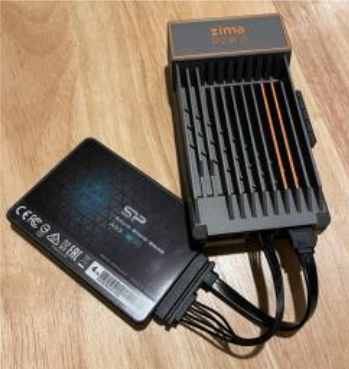
This build consist of 3 components:
1 Zimaboard 232
https://shop.zimaboard.com/products/zimaboard-single-board-server
1 Mini Display Port to HDMI Adapter
https://shop.zimaboard.com/products/mini-displayport-to-hdmi-adapter-1080p
1 4TB SSD hard drive - We used an SP 4TB SSD A55.
Software:
Debian 12
Bitcoin Core

Debian Install and Setup
Download the latest version of Debian and create a bootable USB with it.
Connect the SSD to the Zimaboard.
Connect the keyboard and monitor.
Connect a network connection, preferably with DHCP.
Power on the Zimaboard, and watch for the Zimaboard logo to appear in the center of the screen. As soon as you see the logo, hit the ESC or DEL key to enter the BIOS.
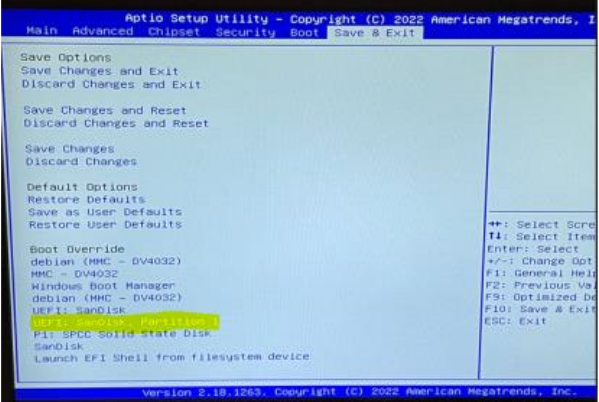
Go to the "Save & Exit" tab, and scroll down to the Boot Override section. Select the USB ISO image and press enter:
NOTE: The images taken during the Debian install are very blurry. We appologize for this, and will try to correct in the near future. However, we believe that the images are clear enough to proceed. If not, please notify us at info@firstintek.com. Thank you for your assistance.

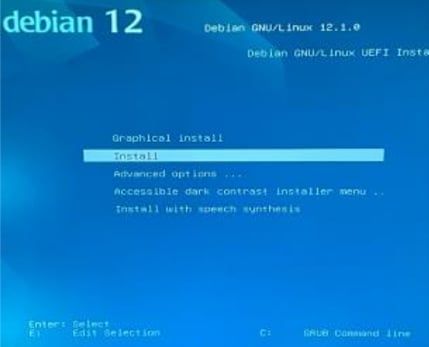
This should load the Debian install menu.
Choose "Install" since we only have a keyboard and no mouse:

Move through the install options. (My selections are in parenthesis.)
NOTE: use the arrows, tab, spacebar, and enter key to navigate through the menus and make selections.
- Choose the language you prefer (English)
- Choose the location you are at (United States)
- Keyboard (American English)
- Select the Primary network interface (enp2s0)
- Name the device such as (BTC-node)
- Domain name can be left blank unless you're using a local domain on your LAN.
- Choose your root password, and make it strong and write it down somewhere safe, or store in a password manager such as keepassxc.
- Re-enter the root password
- Enter your full name. (btcadmin)
- Choose a username for the above user. (btcadmin)
- Choose a strong password for the above user and write it down somewhere safe, or store in a password manager such as keepassxc.
- Re-enter the password
- Choose your time zone (Eastern)
- You should now be at the Partition disks screen.
Choose "Manual"
Your screen should look similar to the following:
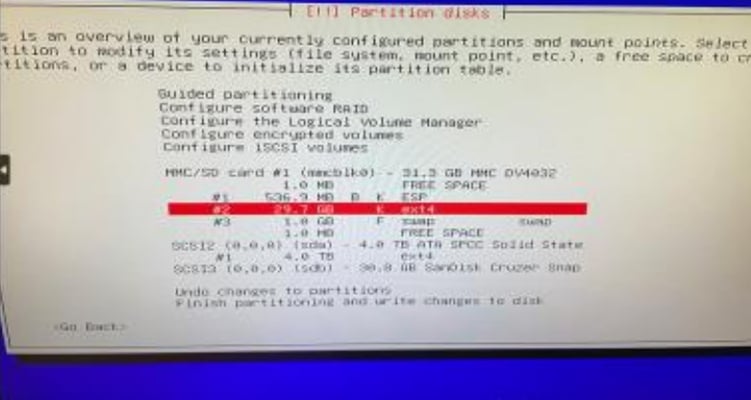

Double click on the #2 partition. It should be the partition that is 29.7 GB large, and it should be in ext4 format.
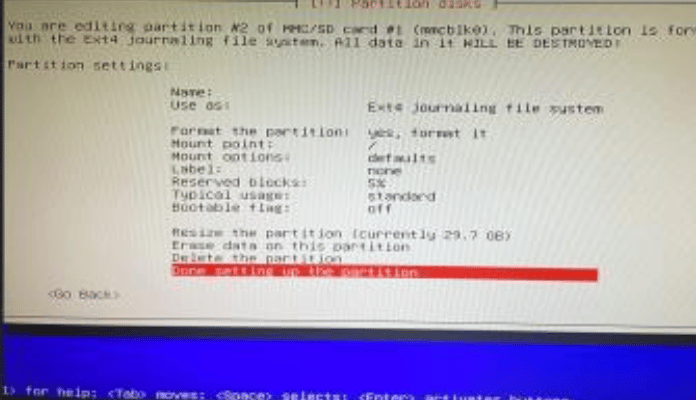
Update the partition to use the root / mount point
Once the mount point is set to / you can leave all other fields at default.
Click on "Done setting up the partition"

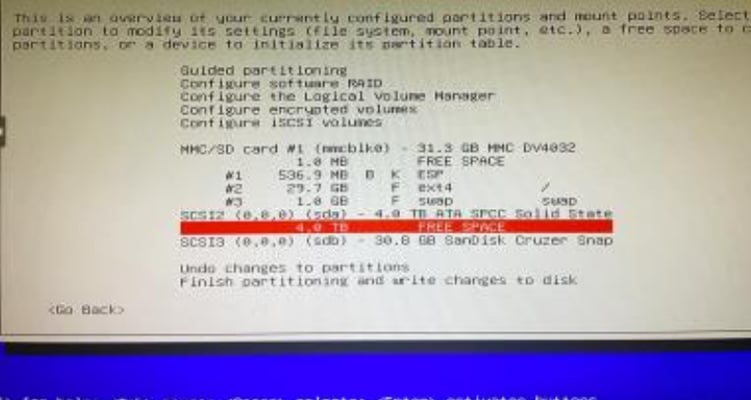
Now select the 4TB drive (or other large SSD that you're using) and press enter. (this will create a partition on the drive)
Answer yes to create a new partition table.
Now select the 4TB hard drive partition and hit enter:

Type max when prompted for the partition size.
Select "automatically partition the free space" and hit enter.
Select "Separate /home partition" and hit enter
Set the drive to use Ext4 journaling file system
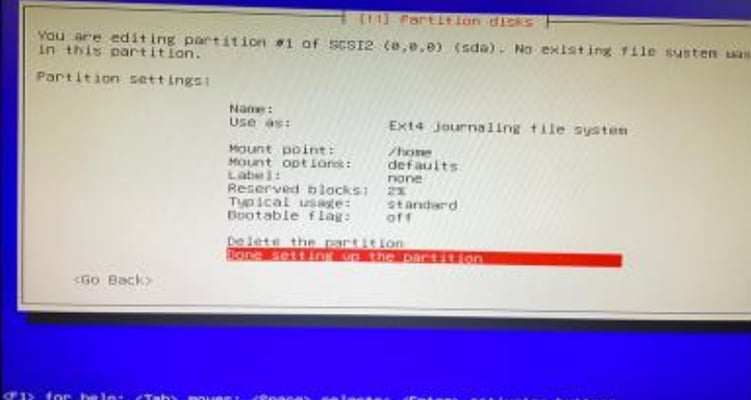
Your large SSD partition should match the following:
NOTE: Notice how the /home directory is mounted to this drive/partition. Make sure yours is setup the same way, as we will be installing Bitcoin Core in the /home directory

That should complete the disks setup.
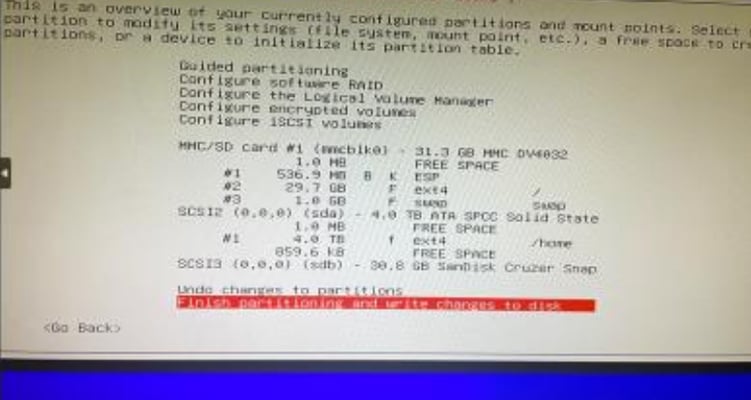
Your partitions should look similar to the following image.
It is blurry so I'll sumarize it in words also:
The internal 31.3 GB storage has 3 partitions:
- 536.9MB Boot partition with ESP format
- 29.7GB root partition / with ext4 format
- 1GB swap
The large external SSD has 1 partition:
- 4TB home partition /home with ext4 format
Select "Finish partitioning and write changes to disk"

Verify that you definitely want to proceed with the partition settings. You must move the cursor to "Yes" with the arrows or tab key.
Choose which country you want to use as your Debian archive mirror.
Select a Debian archive mirror. (deb.debian.org)
Configure your proxy if you're using one. If not, leave it blank and hit enter
Debian ask if you want to participate in a package usage survey? We answer "No".
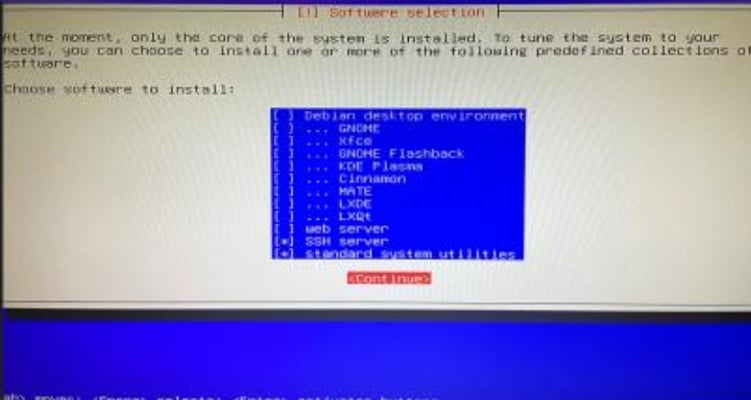
You should now be at the Software selection screen. We want the node to be as secure as possible, so that means installing as little software as possible. Minimalism is a security best practice. For that reason, we only installing the "standard system utilities" and "SSH"
Use the space bar to select/unselect options and use tab to "Continue." A desktop environment can always be installed later if needed.

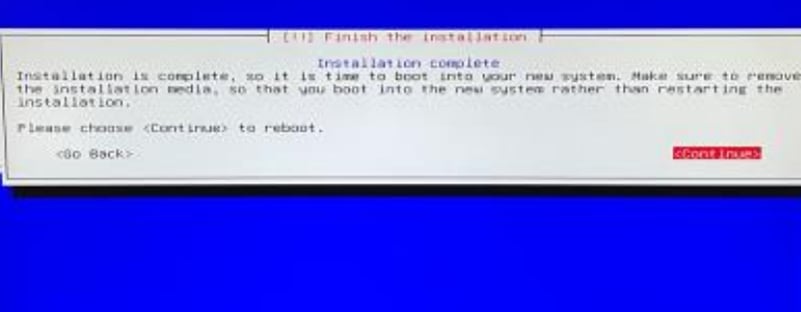
The installation should now be complete.
Choose "Continue" when prompted to reboot the device.
Remove the USB drive once the device powers down.

After the device finishes booting back up, you should be at a login prompt.
Login as root or as the user account you created.
Type command "ip address" and hit enter to view your IP settings. Take note of your assigned IP address.
You can now SSH to the debian server using a terminal emulator such as Putty.exe.
Or you can continue via keyboard and monitor.
Type "su -l" to enter root if you're not already there.
Type "apt update" to check for updates. If there are any, then type "apt upgrade -y" to install them.
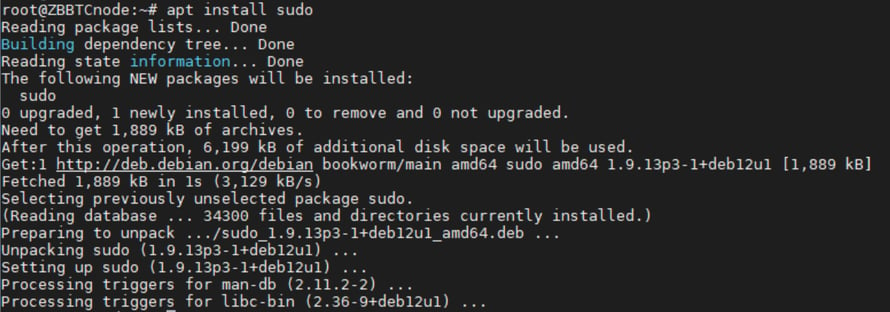
Now install "sudo" by running the following command:
apt install sudo

Add your username to the sudo group with the following command: (My username is btcadmin)
usermod -aG sudo btcadmin
Reboot the device and log back in with the user account (not root).
Test and confirm that "sudo" works with the following command::
sudo apt update
If the command runs, then sudo is working.
Install the following packages that will be needed to install Bitcoin-Core:
wget, gpg, nano,
sudo apt install wget gpg nano -y
Bitcoin-Core Install
Create a downloads directory in your /home folder. This is where we will download files to.
cd ~
mkdir downloads
cd downloads
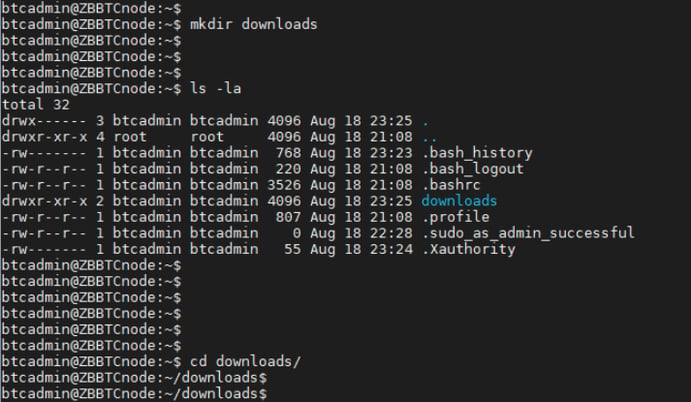

Download the current version of bitcoin-core from bitcoincore.org with the "wget" command: (At the time of this walk-through, the latest version is 25.0)
wget https://bitcoincore.org/bin/bitcoin-core-25.0/bitcoin-25.0-x86_64-linux-gnu.tar.gz


Also download the SHA256SUMS hash file and the SHA256SUMS signature file.
These 2 SHA256 files are used to validate the authenticity of the Bitcoin-Core image that was downloaded above. We want to make sure that the image is valid and hasn't been tampered with.
wget https://bitcoincore.org/bin/bitcoin-core-25.0/SHA256SUMS
wget https://bitcoincore.org/bin/bitcoin-core-25.0/SHA256SUMS.asc
You should now have 3 files in your downloads folder:


Now we can verify the authenticity of the downloaded file to make sure that it is not corrupted or malicious.
To validate the Bitcoin-Core download, first install a trusted gpg key of some of the Bitcoin-Core developers.
NOTE: These steps can also be found at https://bitcoincore.org/en/download/
I'm going to dowload and install the GPG key of Bitcoin-Core developer 'fanquake', but you can use any of the developer GPG keys from their GitHub page: https://github.com/bitcoin-core/guix.sigs/tree/main/builder-keys
Make sure to copy the link for the RAW file of the GPG keys:
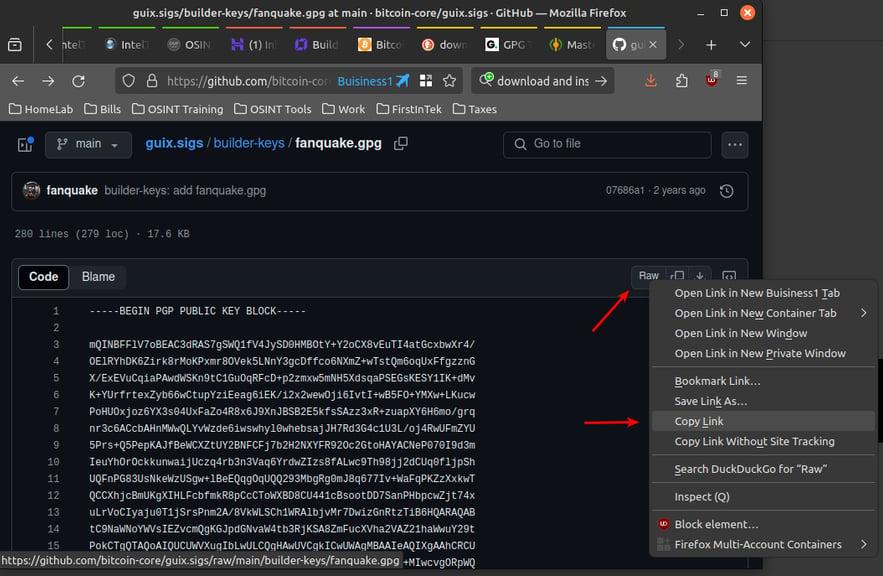

Once you have copied the RAW link for fanquake.gpg download it
wget https://github.com/bitcoin-core/guix.sigs/raw/main/builder-keys/fanquake.gpg


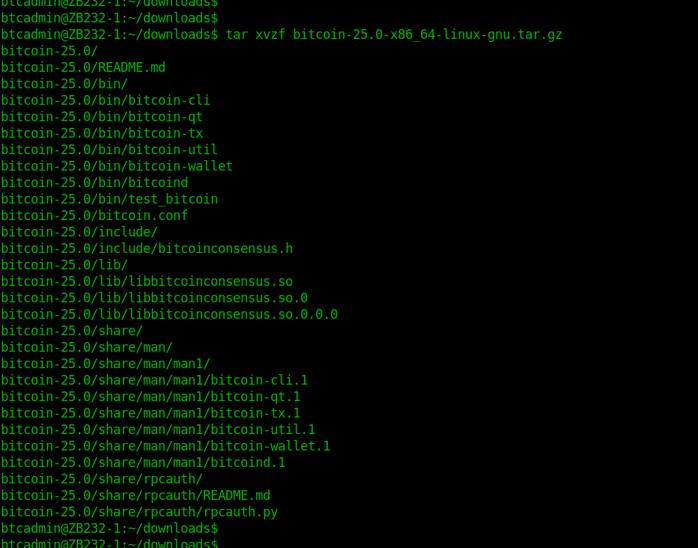
This created a new directory in the current directory named bitcoin-25.0 that contains the unzipped install files.
Now install the bitcoin-core binaries.
We install them in location /usr/local/bin :
sudo install -m 0755 -o root -g root -t /usr/local/bin bitcoin-25.0/bin/*
Bitcoin-Core is now installed. Before starting it do the following:
Make a new folder named .bitcoin in your /home directory, and create config file named bitcoin.conf
NOTE*: make sure to include the period at the beginning of the directory name ( .bitcoin).
cd ~
mkdir .bitcoin
sudo nano .bitcoin/bitcoin.conf
<add the following configs to the bitcoin.conf file>
server=1
txindex=1
daemon=1
bind=127.0.0.1
rpcport=8332
rpcbind=127.0.0.1
rpcallowip=127.0.0.1
Save the file and exit.
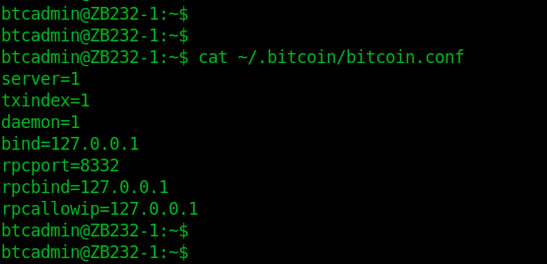
Run the following command to verify that the config file saved correctly:
cat ~/.bitcoin/bitcoin.conf

Start bitcoin-core with the following command, and it will start downloading the blockchain. It will take some time to complete:
bitcoind
It will take a few days to complete. Progress can be monitored with the following command:
tail ~/.bitcoin/debug.log -f
Now create a system file for bitcoind to start automatically upon reboot (check the user name to make sure yours is correct):
sudo nano /etc/systemd/system/bitcoind.service
[Unit]
Description=Bitcoin Daemon
After=network.target
[Service]
User=btcadmin (**modify your's appropriately**)
PIDFile=/home/**YOUR USERNAME HERE**/.bitcoin/bitcoind.pid
ExecStart=/usr/local/bin/bitcoind
Restart=always
TimeoutSec=120
RestartSec=30
[Install]
WantedBy=multi-user.target
Run the following command to validate that the file saved correctly:
sudo cat /etc/systemd/system/bitcoind.service


Now that the RAW file for fanquake.gpg has been downloaded, it needs to be imported into the gpg key database:
gpg --import fanquake.gpg

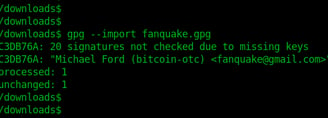
Now that a GPG key of a Bitcoin-Core developer has been imported, we can proceed to validate the authenticity of the Bitcoin-Core downloads.
gpg --verify SHA256SUMS.asc SHA256SUMS
You should see a "Good Signature" from fanquake and any other developers that you installed their GPG key:
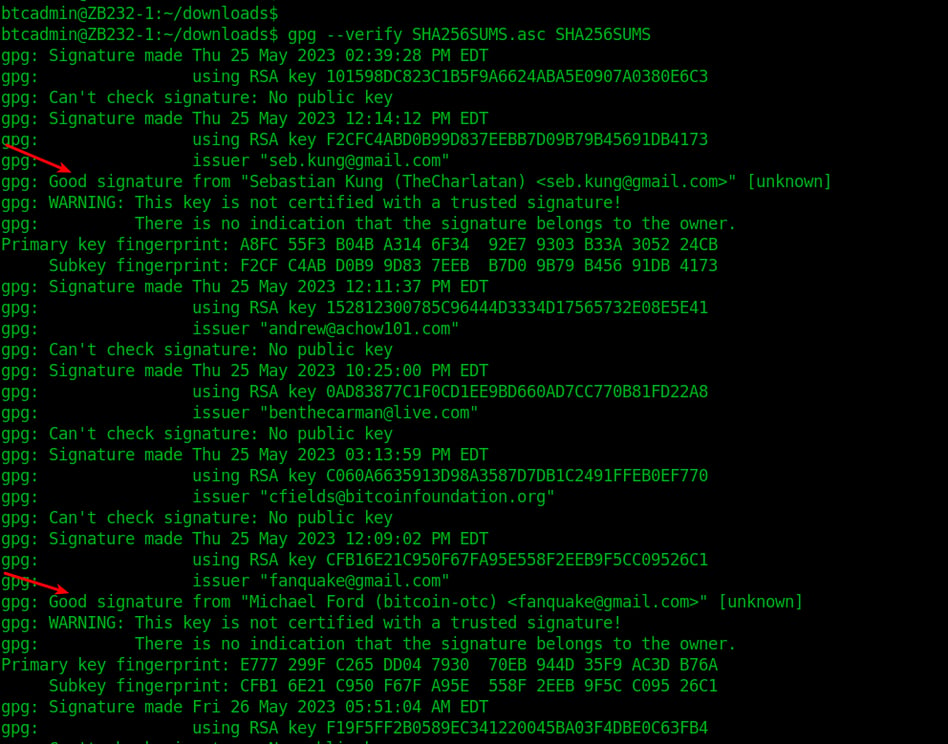

Now, as a final check, run this command and you should get an 'OK':
sha256sum --ignore-missing --check SHA256SUMS


Now that the files are downloaded and verified, bitcoin-core can be installed.
Extract the .tar.gz files with the following command:
tar xvzf bitcoin-25.0-x86_64-linux-gnu.tar.gz

You can use the following command to verify when your node is fully up-to-date and in sycn with the Bitcoin blockchain:
bitcoin-cli getblockchaininfo
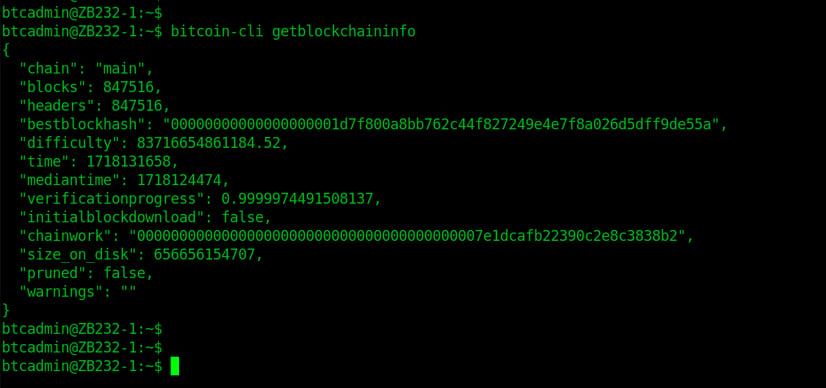

Once in sync the "initialblockdownload" should be "false". If it says "true", then your blockchain download is still in progress.
You can also validate that the block number (847516 at the time of this writing) should match the most recent Bitcoin block number. You can use a public website such as https://mempool.space/ to see the latest block details.
You now have your own Bitcoin node that you can use when making transactions. Just configure your wallet to point to your new node instead of a public node.
